


Japanese knives are celebrated for their unmatched sharpness, elegant craftsmanship, and precision in the kitchen.
Understanding the art of sharpening is essential to preserving their performance and longevity. Whether you’re a seasoned chef or a passionate home cook, this guide will walk you through everything you need to know to sharpen your Japanese knives like a pro.

Understanding Japanese Knives: Single-Bevel vs. Double-Bevel
Japanese knives typically feature two main edge types:
-
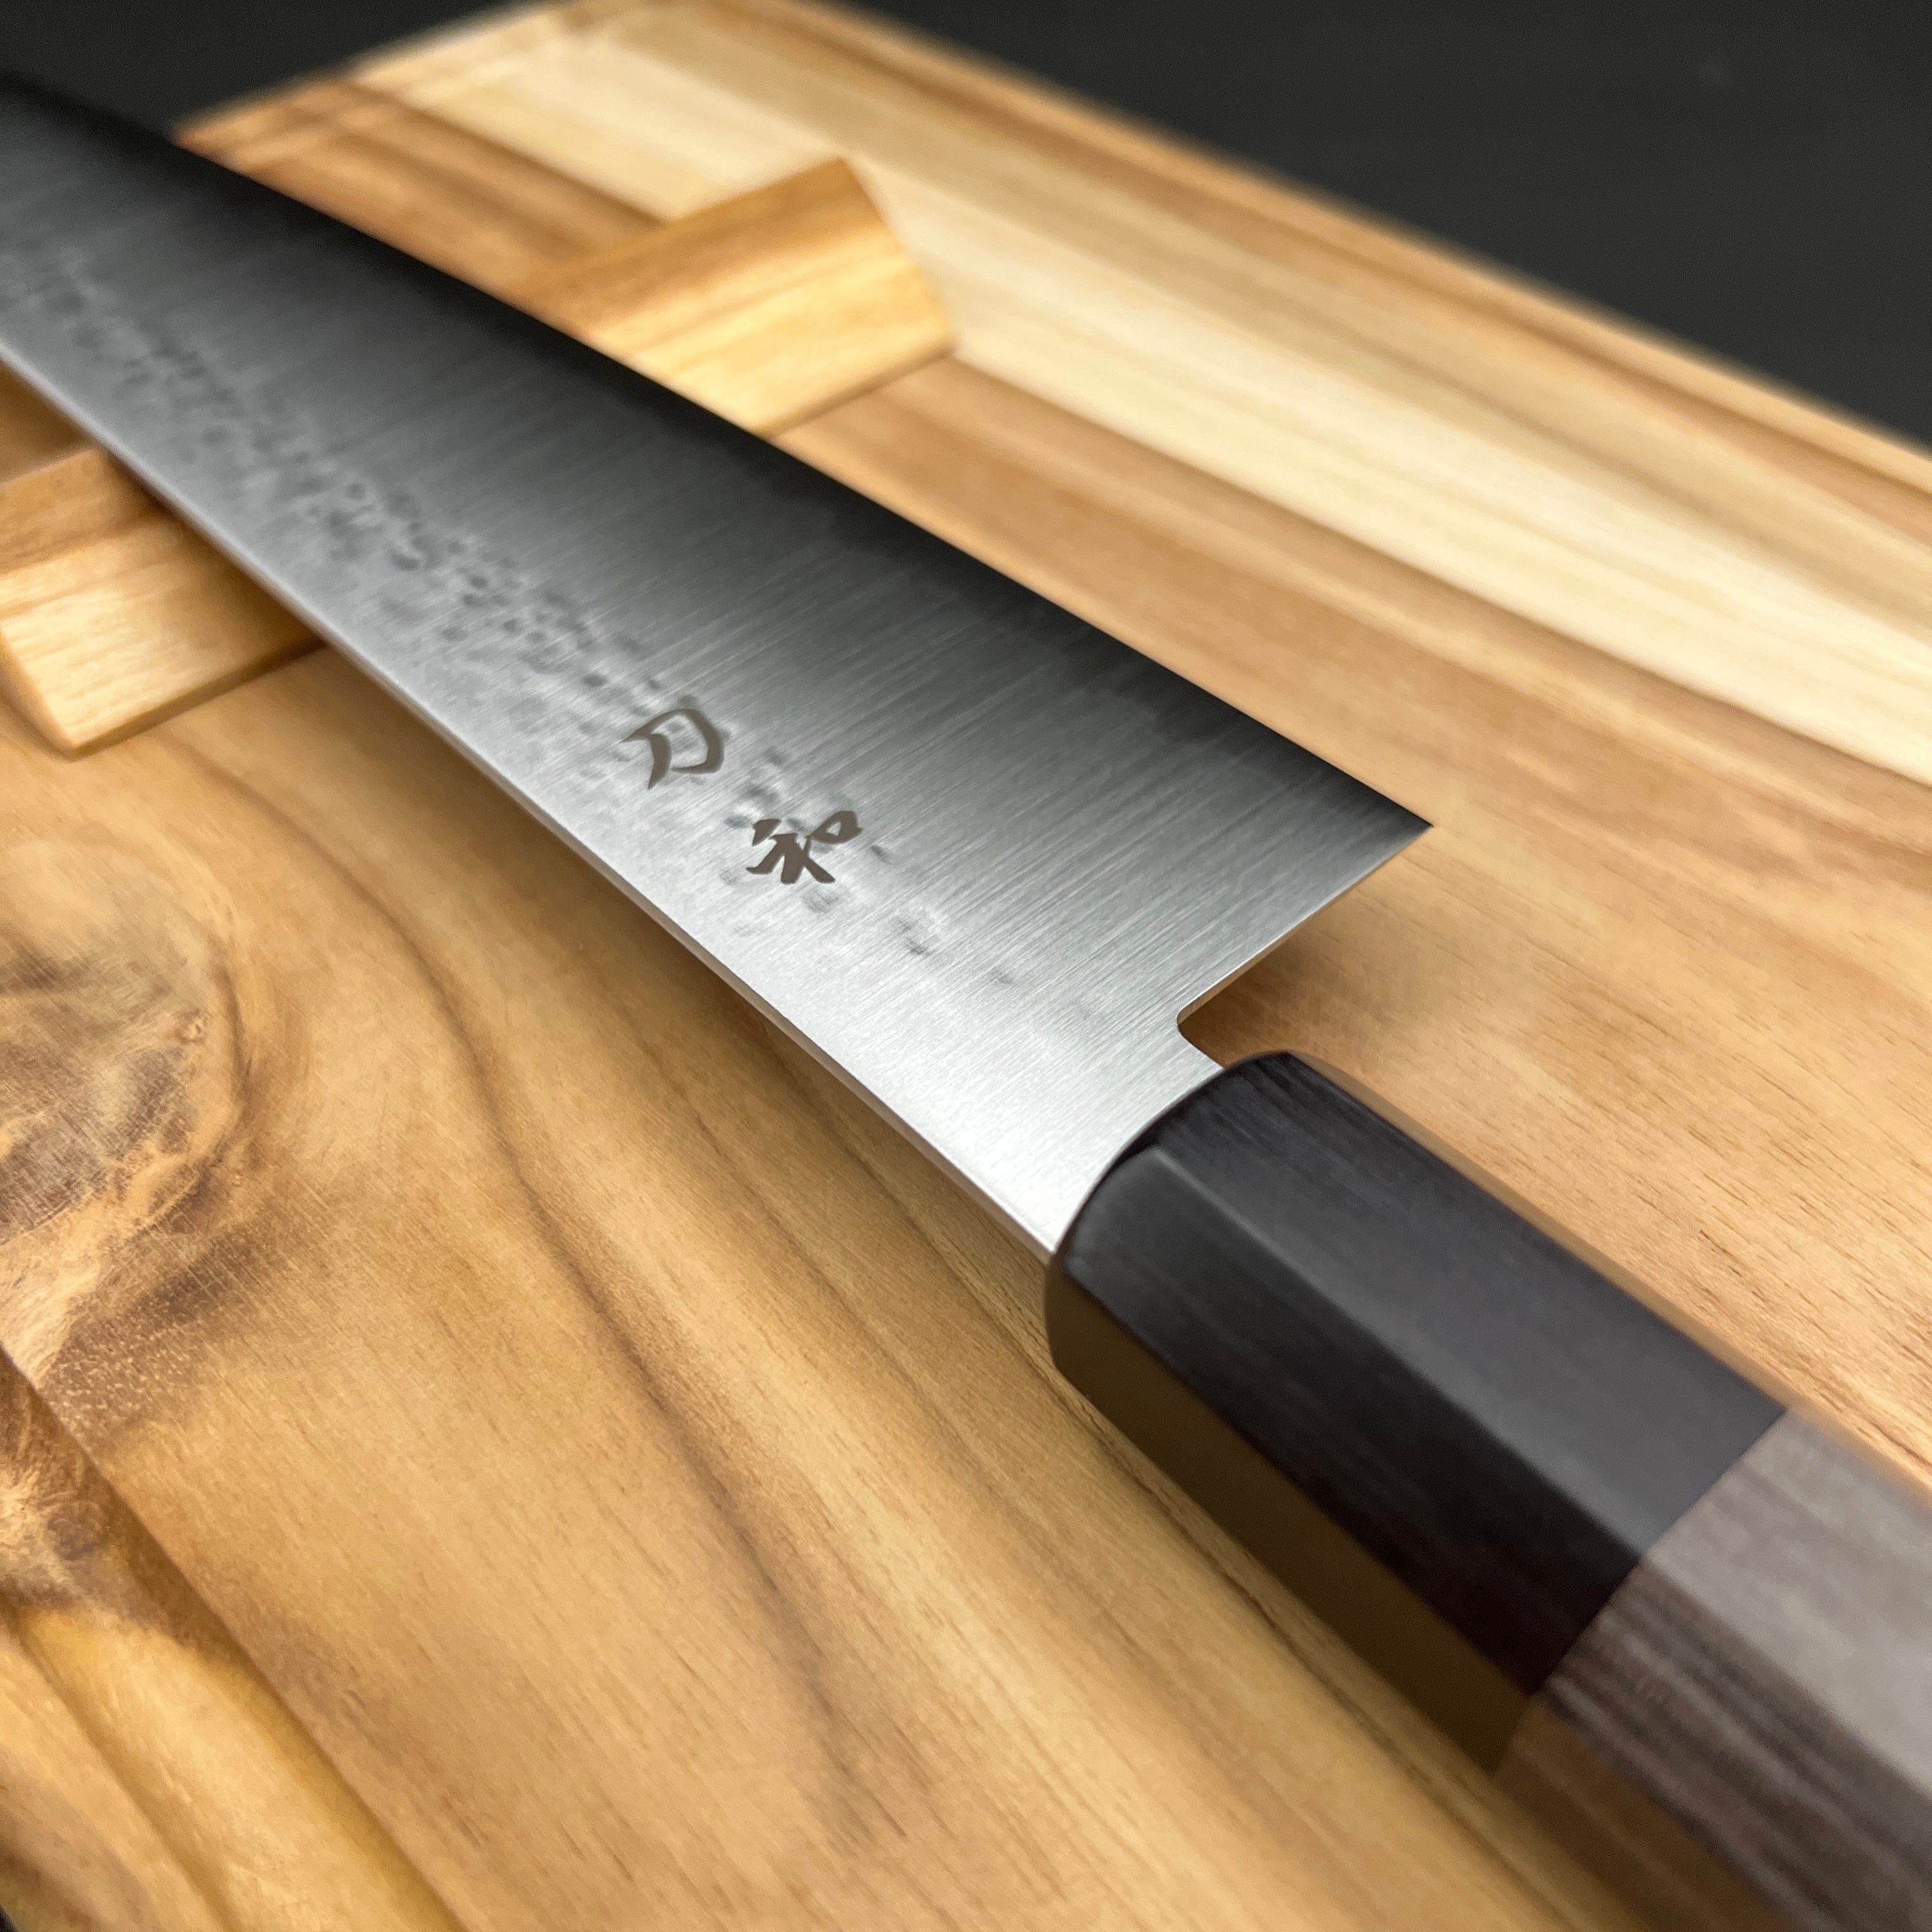
Single-bevel knives (e.g., Yanagiba, Usuba, Deba): Sharpened on one side, these knives require special attention to the urasuki—the gently concave back of the blade. This design allows for incredibly precise cuts, but demands careful sharpening to maintain the correct geometry.
-
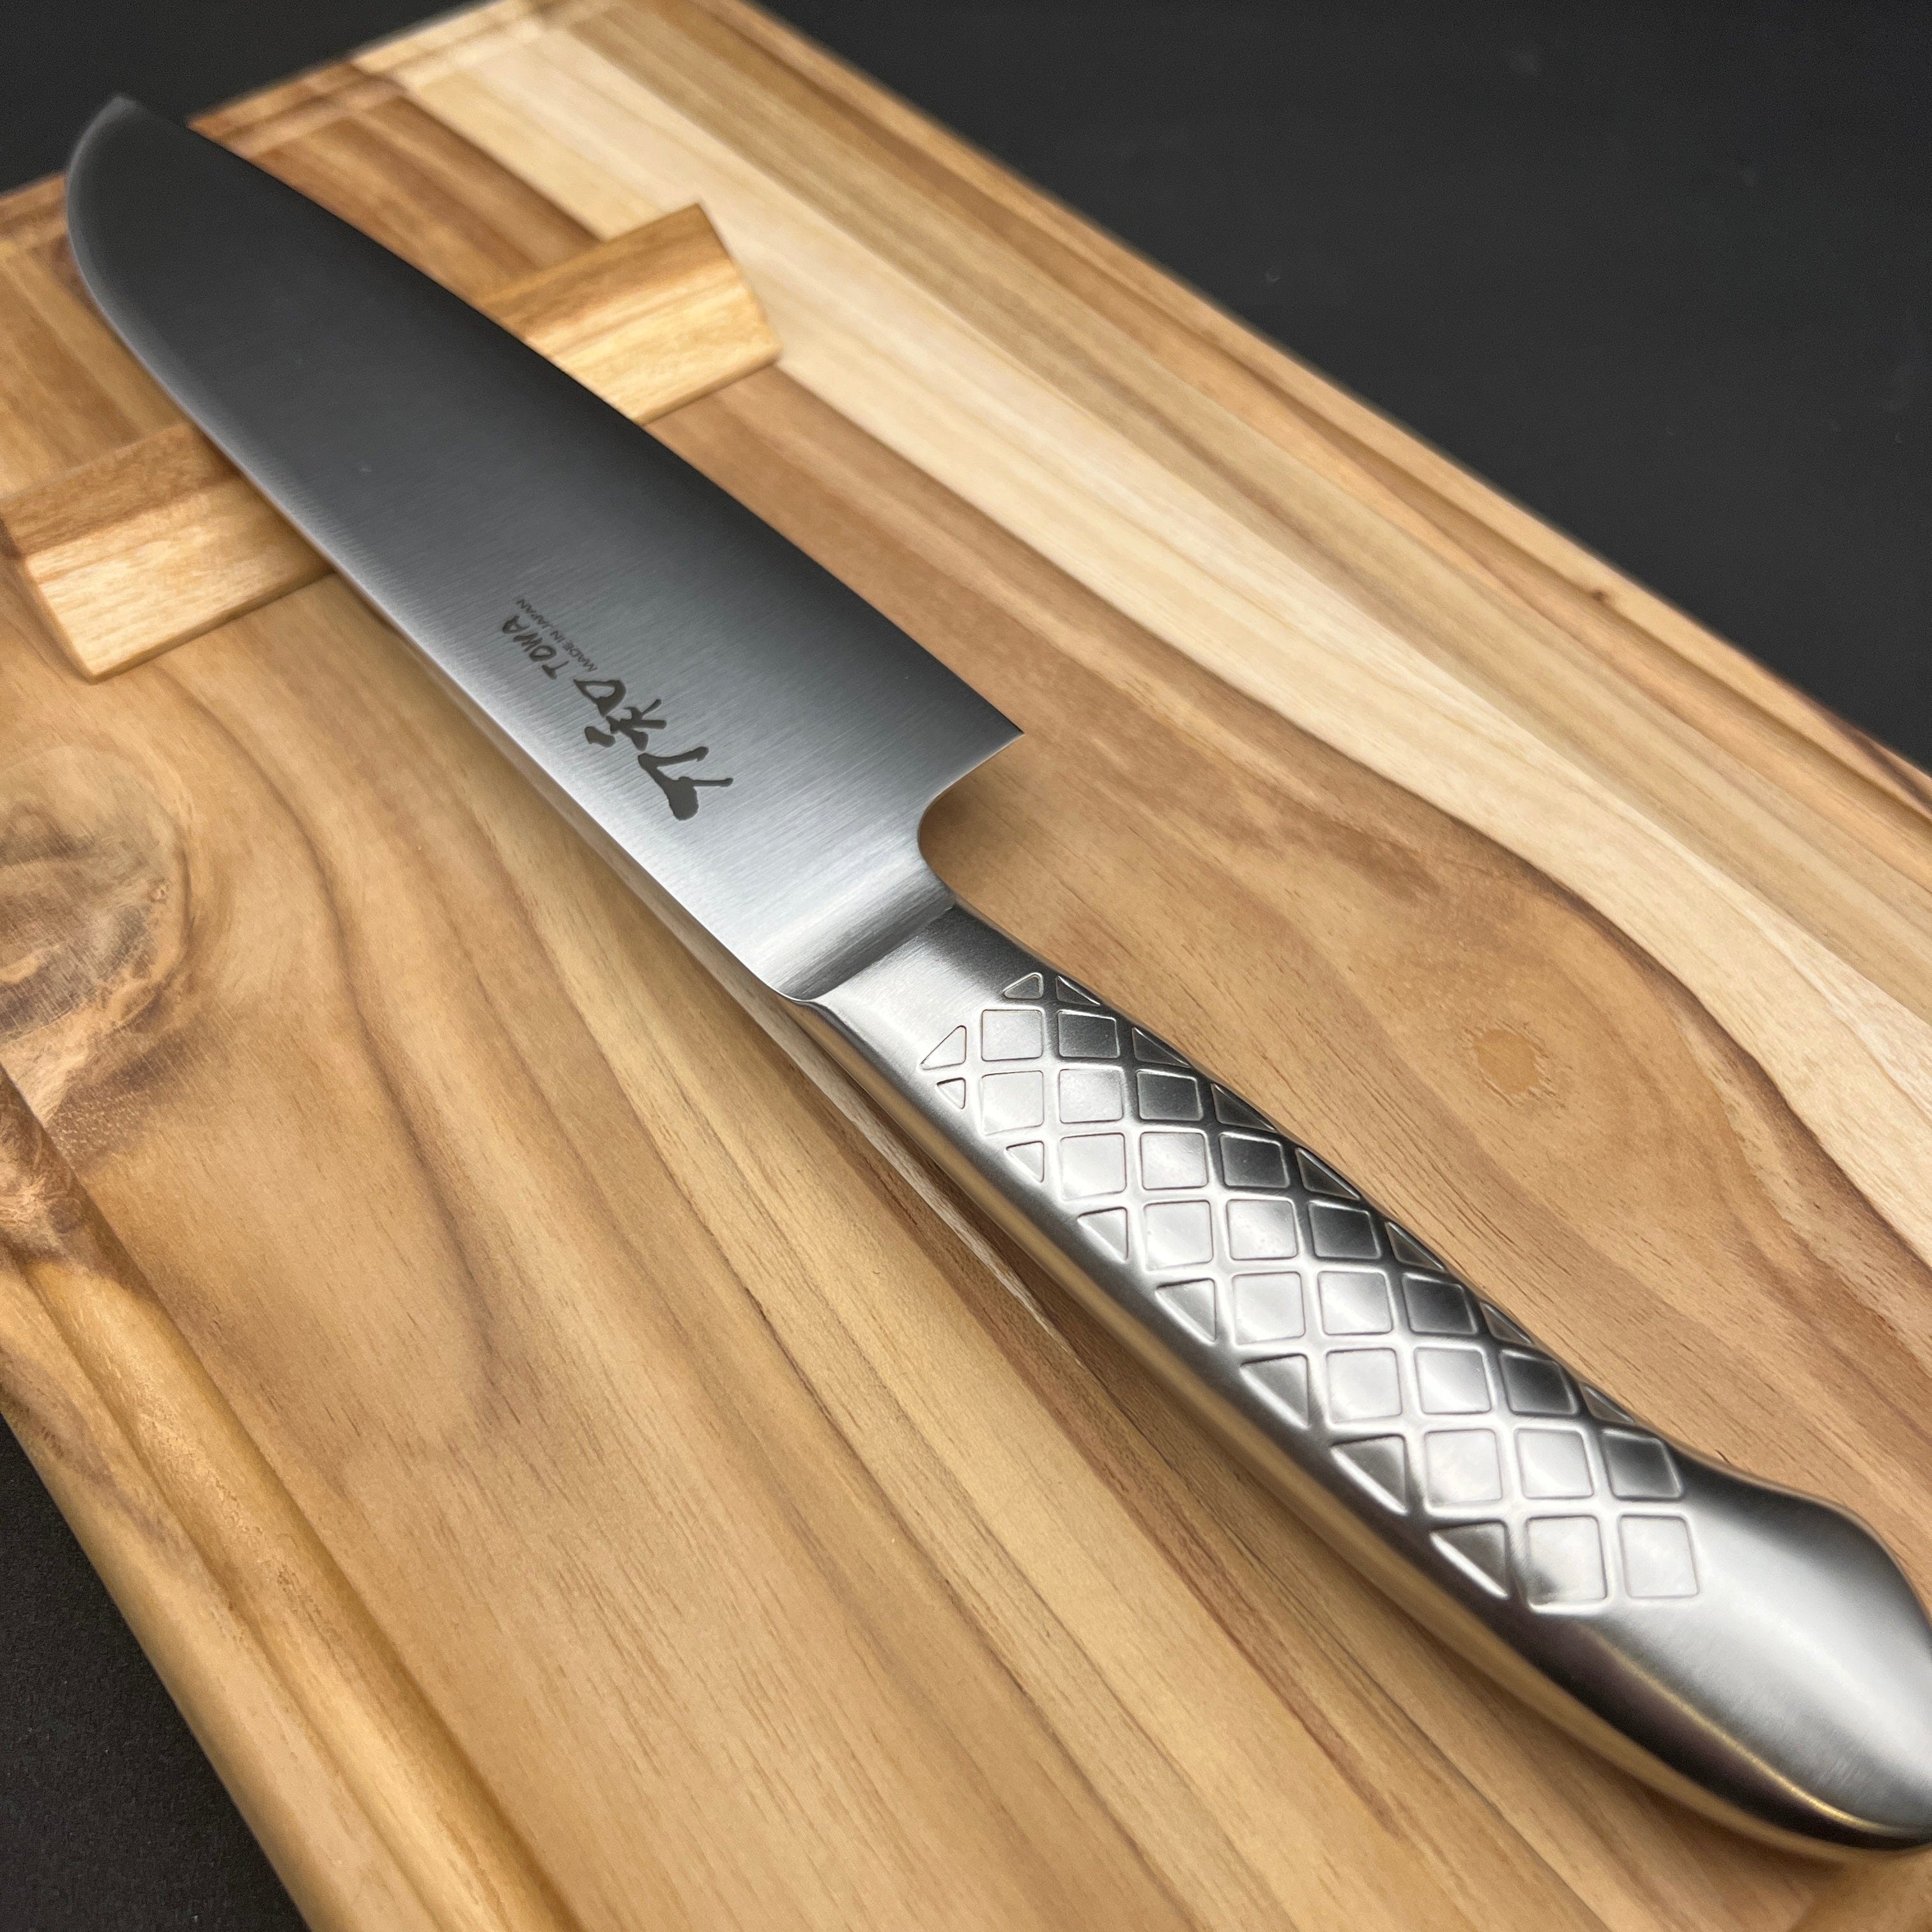
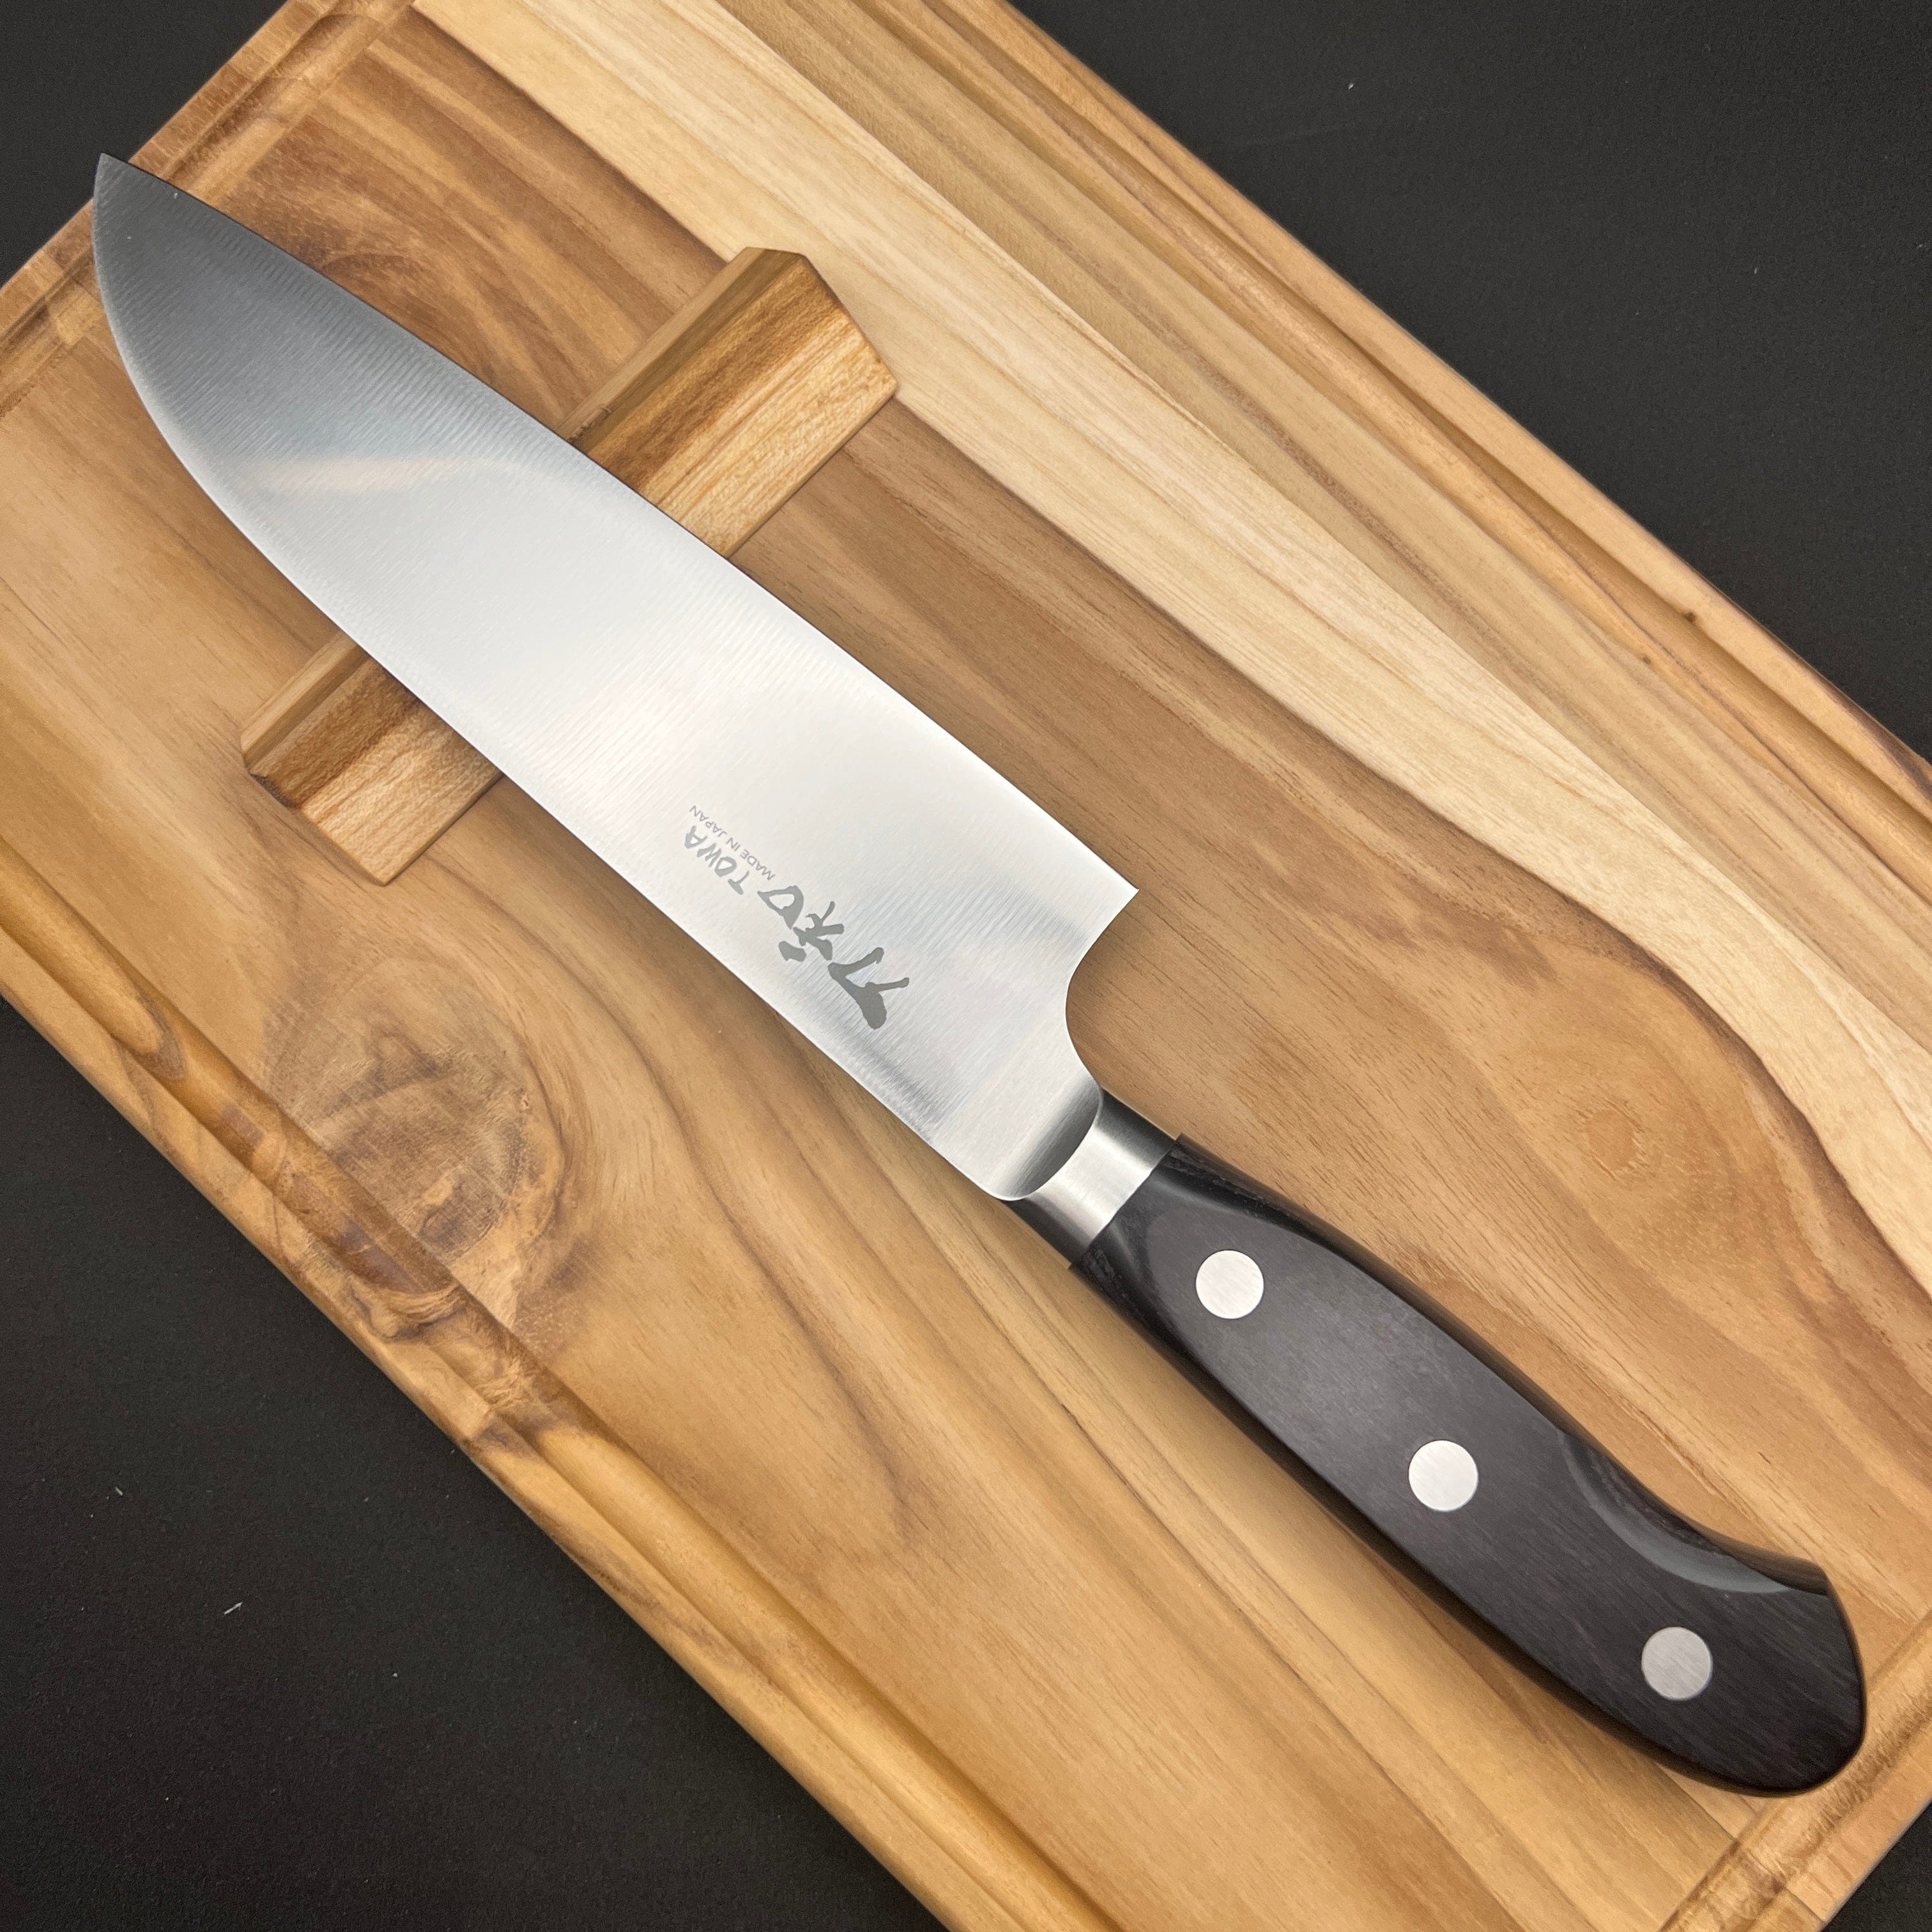
Double-bevel knives (e.g., Gyuto, Santoku): Sharpened on both sides, usually at a 50:50 or 70:30 ratio. Maintaining symmetry and the correct bevel ratio is key to achieving a sharp, durable edge.

Choosing the Right Whetstones
Whetstones are the preferred tool for sharpening Japanese knives, offering control and a superior finish. For best results, use a progression of stones:
-
Arato (Coarse Grit, #200–#400): For repairing chips or restoring very dull edges.
-
Nakato (Medium Grit, #800–#1000): The workhorse for regular sharpening and edge refinement.
-
Shiageto (Fine Grit, #3000–#8000+): For polishing and achieving a razor-sharp, mirror-finish edge.
Soak traditional whetstones in water until bubbles stop rising—usually 10–15 minutes. Place the stone on a wet towel or non-slip base to ensure stability throughout the process.

Step-by-Step Sharpening Instructions
-
Prepare the Stone: After soaking, set your whetstone securely on your work surface. Keep a small bowl of water nearby to re-wet the stone as needed.
-
Find the Correct Angle: For most Japanese knives, maintain a sharpening angle between 10°–15°. Consistency is crucial—using the same angle throughout ensures a uniform edge. A simple trick: use two coins stacked under the blade as a guide for the correct angle.
-
Sharpen the Blade:
-
For Double-Bevel Knives:
-
Start with the coarse stone if the blade is very dull or damaged; otherwise, begin with medium grit.
-
Place your fingers on the blade near the edge and apply gentle, even pressure as you move the blade back and forth across the stone. Work in sections from tip to heel, repeating 5–10 strokes per section until you feel a burr form on the opposite side.
-
Flip the knife and repeat the process on the other side, maintaining the same angle and stroke count for symmetry.
-
-
For Single-Bevel Knives:
-
Sharpen the beveled side first, keeping the flat side of the blade flush against the stone. Take care not to alter the shinogi (the ridge line where the blade tapers), as this is key to the knife's performance.
-
Once a burr develops, lightly polish the flat side by laying it flat on the stone and gently stropping to remove the burr.
-
-
-
Progress Through Finer Stones: Move to the medium and then fine grit stones, repeating the same technique. Each stage refines and polishes the edge for optimal sharpness.
-
Remove the Burr: After finishing with the finest stone, remove the burr by gently stropping the edge on a piece of newspaper, leather, or denim. This step polishes the edge and ensures a clean, keen finish.
-
Clean and Dry: Rinse your knife with water and dry it thoroughly to prevent rust. Clean your whetstones and let them air-dry completely before storing.
Pro Tips for Sharpening Success
-
Sharpen Regularly: Don’t wait until your knife is completely dull. Frequent light sharpening is easier and extends the life of your blade.
-
Check Sharpness: Use the “paper test”—a sharp knife will cleanly slice through a sheet of paper without snagging or tearing.
-
Keep Your Stones Flat: Flatten your whetstones regularly with a stone fixer or lapping plate to ensure even sharpening.
-
Use the Right Pressure: Apply moderate pressure during sharpening strokes, and lighten up for finishing passes.
-
Store Properly: Protect your knives with blade guards, magnetic strips, or knife blocks to keep edges pristine.
-
Practice Makes Perfect: Mastery comes with repetition. If possible, watch expert videos or attend a sharpening workshop to refine your technique.

Troubleshooting Common Issues
-
Uneven Edge: Inconsistent angles or pressure can cause an uneven edge. Focus on maintaining the same angle and pressure throughout each stroke.
-
Edge Not Getting Sharp: Ensure you’re forming and removing the burr at each grit stage. Skipping grits or not spending enough time on the coarse stone may leave the edge dull.
-
Stone Slipping: Always use a wet towel or non-slip mat under your stone for safety and consistency.
Sharpening Japanese Knives: A Skill Worth Mastering
Sharpening Japanese knives is more than maintenance—it’s an essential culinary skill that enhances your cooking experience and prolongs the life of your blades. With the right tools, techniques, and a bit of practice, you’ll keep your knives performing at their best for years to come.
Ready to elevate your sharpening game? Explore our curated selection of premium whetstones and accessories at MyJapaneseWorld.com and discover everything you need to keep your Japanese knives in peak condition.


Share: